

Tolland, CT Hardwood Floor Refinishing — Part 1: Finding the Right Color for Cherry and White Oak
Some hardwood floor refinishing projects in Tolland, Connecticut are fairly straightforward. This one wasn't.
We were working in a home in the Grant Hill Road and Noah Lane area of Tolland, CT 06084, where the homeowner had a very specific color in mind. The challenge was that the home contained two very different hardwood floors.
Much of the first floor was a beautiful character-marked cherry floor, but over time the cherry had developed a strong orange, almost pumpkin-colored appearance that the new homeowner didn't care for. Another section of the home was white oak.
She wanted to get away from that orange tone while finding a color that could help the cherry and white oak relate better to each other.
That was going to take some experimenting.
The Challenge: Two Different Woods and One Color Direction
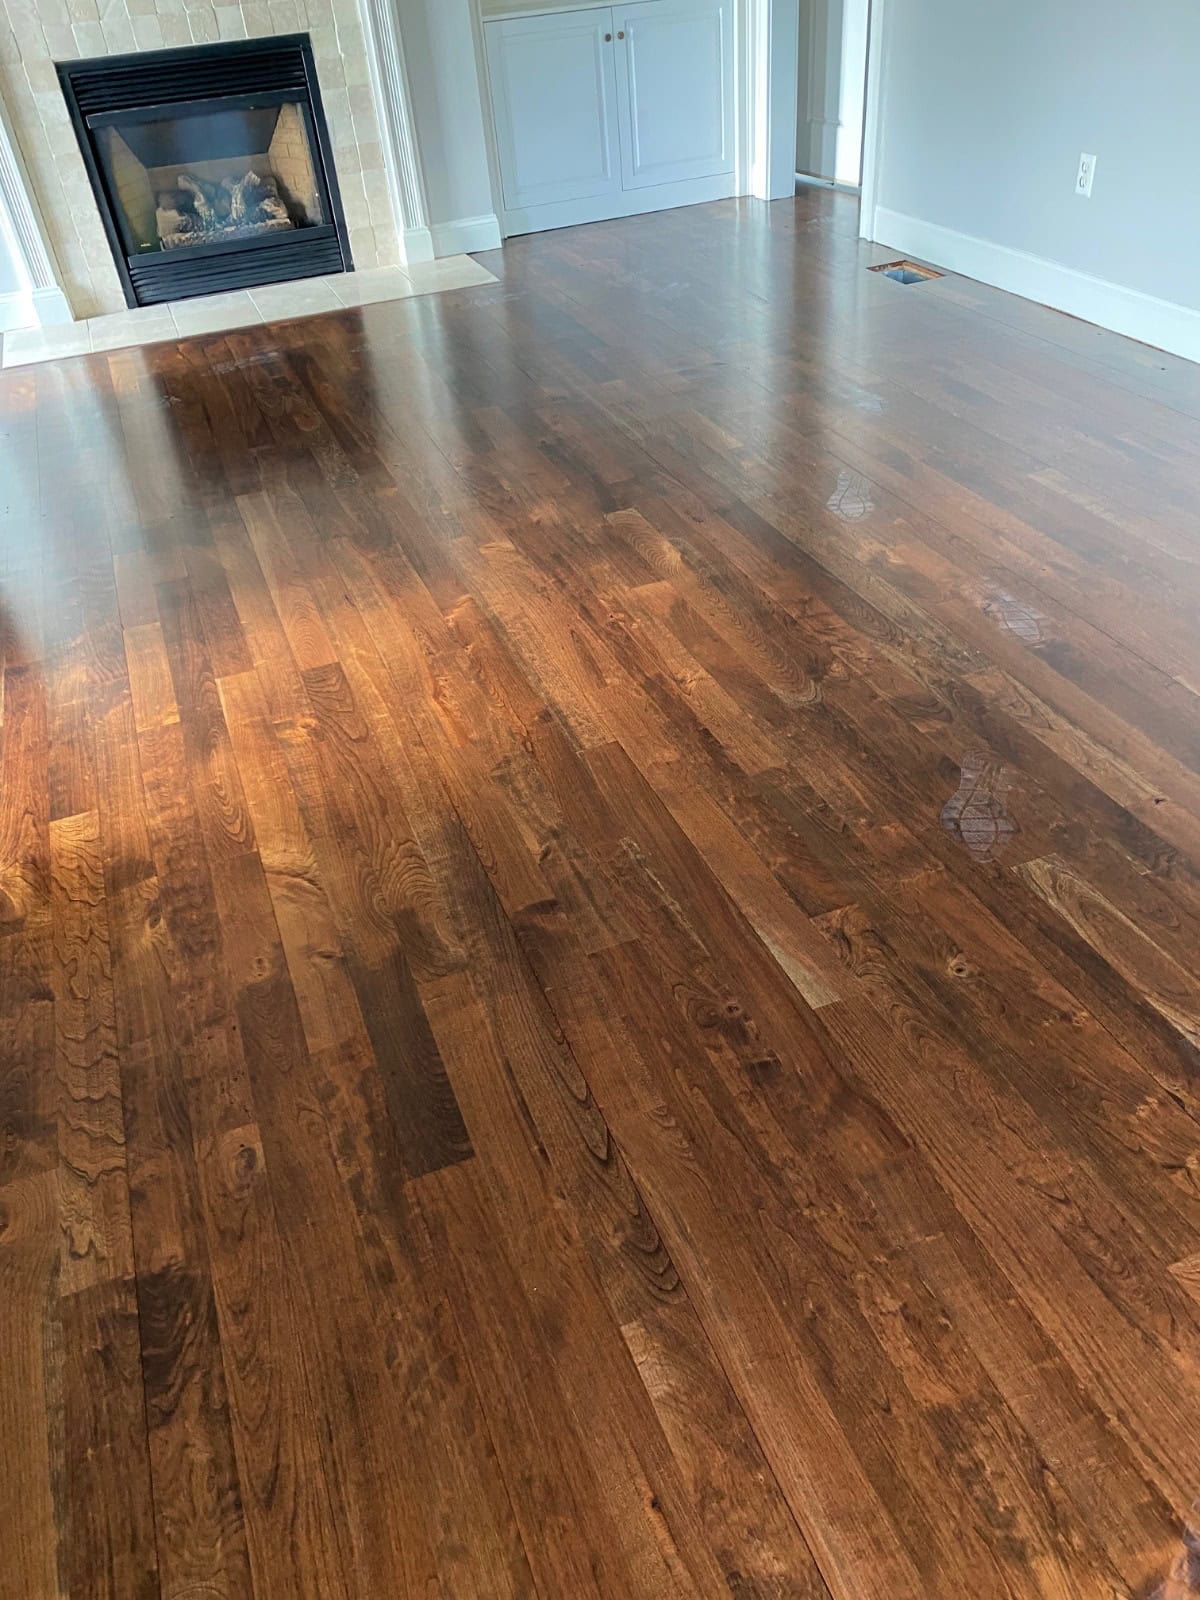
Cherry and white oak don't naturally look alike, and they don't necessarily react to the same stain in the same way.
The character-marked cherry had considerable natural color variation from board to board. The white oak had a completely different grain and underlying tone.
We explained that we weren't going to make two different species magically become identical. Instead, we needed to find a stain direction that would reduce some of the contrast while preserving the character of both floors.
And because this homeowner was very particular about the color, we weren't going to guess.
Making Samples Before We Committed to a Color
We actually began working on colors before the sanding process started, preparing several samples to help narrow down what the homeowner was looking for.
Once we sanded the actual floors, however, we could take the process much further.
We put multiple stain samples directly onto the freshly sanded hardwood floor.
That's important on a project like this. A stain color on a small sample board or manufacturer chart doesn't always tell you exactly what it will look like on your own flooring.
Here, the homeowner could see the stain on the actual wood, in the actual house, under the home's lighting.
Then the Homeowner Changed the Color Direction
This is where the project became even more interesting.
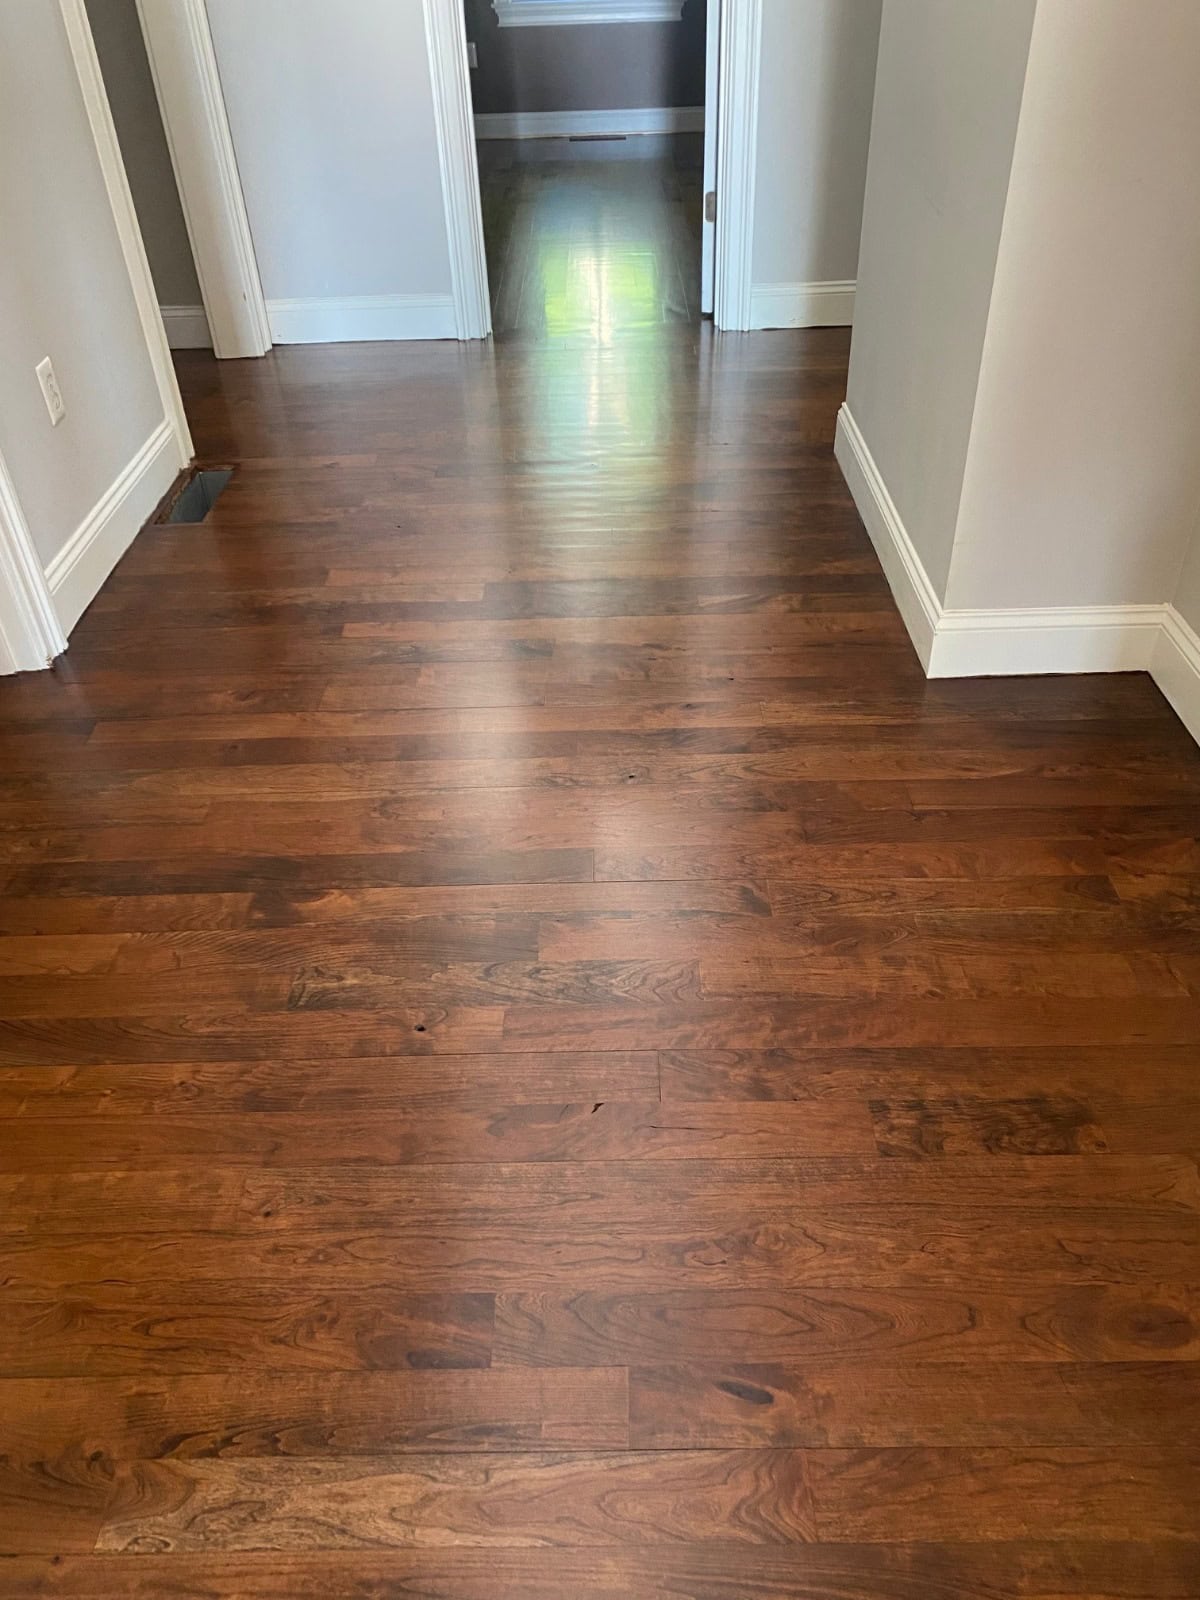
After all the preparation and sampling, we started applying the selected stain. We stayed in contact with the homeowners and sent photographs as we began the staining process.
When she saw the stain beginning to go down, she wasn't completely comfortable with it.
She wanted it lighter.
Because we had communicated with her at the beginning of the staining process instead of waiting until the entire floor was completed, we were still in a position to respond.
We stopped and adjusted what we were doing.
That added time and another challenge to an already complicated refinishing project, but we'd rather address a concern while we still have an opportunity to do something about it than simply continue because a color had previously been selected.
Hardwood Floor Refinishing Isn't Always About Picking a Stain Name
This project demonstrates something we've learned over many years of wood floor refinishing: sometimes the most important part of the job happens before the final finish ever goes down.
We were dealing with character-marked cherry, white oak, an unwanted orange tone, multiple stain samples, different reactions from two wood species and a homeowner who knew very specifically what she did and didn't want.
It required patience.
And that's okay.
Our job wasn't to push the homeowner toward the easiest color for us to apply. It was to listen, show her the possibilities, explain what the wood could realistically do, and work toward the appearance she wanted for her home.
This Is Only Part 1
This Tolland project was complicated enough that we're going to show it in three parts rather than squeeze the entire process into one article.
Part 1 shows the color-selection process you've seen here: sanding portions of the floor, making multiple samples and working with the homeowner to establish the direction.
Part 2 will take you further into the sanding and staining process—including what happened when the homeowner saw the stain being applied and asked us to make an adjustment.
Part 3 will show the completed floors and how the final color worked across the character-marked cherry and white oak.
Sometimes the finished-floor photograph only tells a small part of the story.
This was one of those projects.