Dustless Sanding and Refinishing For Hardwood Floors (A Comprehensive Guide)
What Is Dustless Sanding and Refinishing?
Dustless sanding and refinishing for hardwood floors creates significantly less dust than is created by the traditional sanding method. With the correct system, most of the air-borne dust is contained and captured for easy disposal.
Even though the procedure is advertised as “dustless,” it isn’t completely dust-free. During every hardwood floor refinishing operation, a small quantity of dust is generated and released into the air.
A dust control system is key to reducing the amount of harmful dust particles created during the sanding process.
How Does Dustless Sanding and Refinishing for Hardwood Work?
If you’ve ever witnessed the process of hardwood floor refinishing using traditional sanding, you’ve undoubtedly seen how much dust it generates. Dust makes breathing in your house harmful until the work is completed.
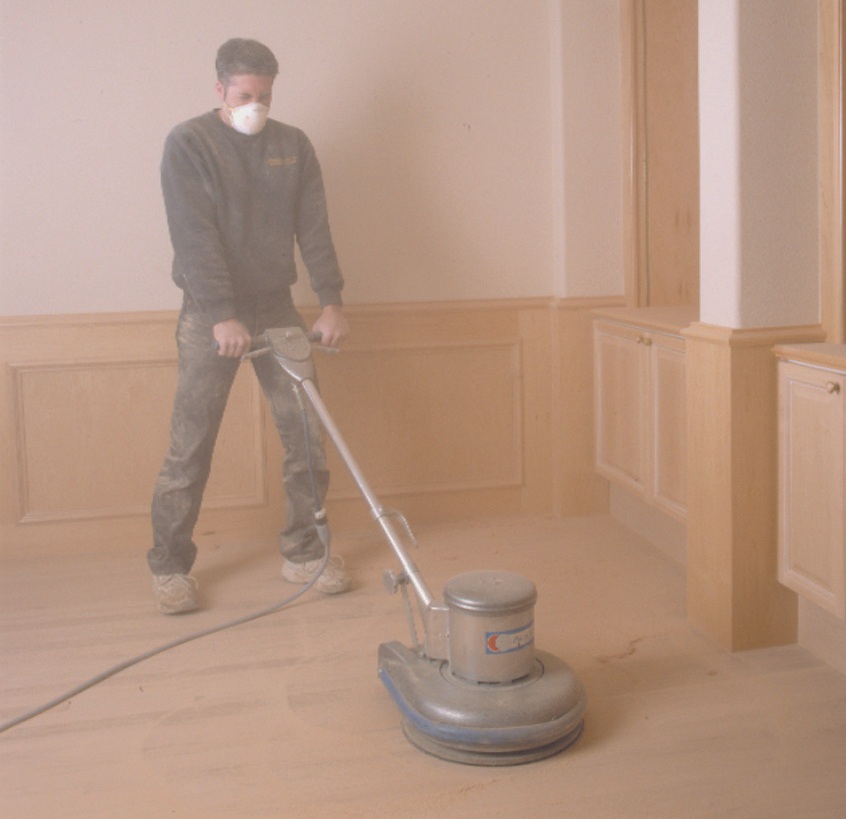
Many people cannot live in their homes during this type of floor refinishing which often results in massive amounts of clean-up required once the installers leave. The dust from the installation settles everywhere, making it a time-consuming task to clean.
Dustless sanding gives you the peace of mind that your home won’t be filled with dust. With our containment system, our professionals will take care of it for you. Not to mention, you get to fully enjoy your new hardwood floors as soon as they’re finished!
Why Is Dustless Sanding and Refinishing Important?
Dustless sanding, which is also known as dustless grinding or dry grinding, is a flooring installation and refinishing method that significantly reduces the amount of dust produced throughout the procedure and has become increasingly popular among professionals all around the country.
Sanding is an inevitable stage in the restoration of hardwood floors. This process might take a long time and necessitate multiple passes at sanding before older floors are smooth enough for coating. Dust enters the air as flooring professionals sand this area.
The following are some of the advantages of using a dustless sanding method:
Less Mess
Dustless sanding eliminates most dust from your air and dispersion throughout your house. You won’t have to spend much time cleaning before walking on your newly restored floor. Nor will you need to hire a costly professional cleaning crew for a large refinished area.
Healthier Air Quality
Dust in the air reduces air quality and makes it difficult to breathe. Traditional hardwood floor refinishing produces so much dust into the air that it might make your home unhealthy to breathe. Dust can cause asthma, allergies, and other respiratory issues in you and your family. However, with dustless sanding, you won’t have to worry about these problems. The atmosphere remains fresh.
Smoother Results
Dustless sanding gives superior results since the dust is not interfering with the sand paper. You may anticipate smoother hardwood floor with a neater and more attractive finish.
Better for the Environment
Dustless sanding is a more environmentally friendly way to refinish hardwood floors than traditional methods. By collecting and containing the dust, we minimize the ecological impact of the process.
What Equipment Do We Recommend?
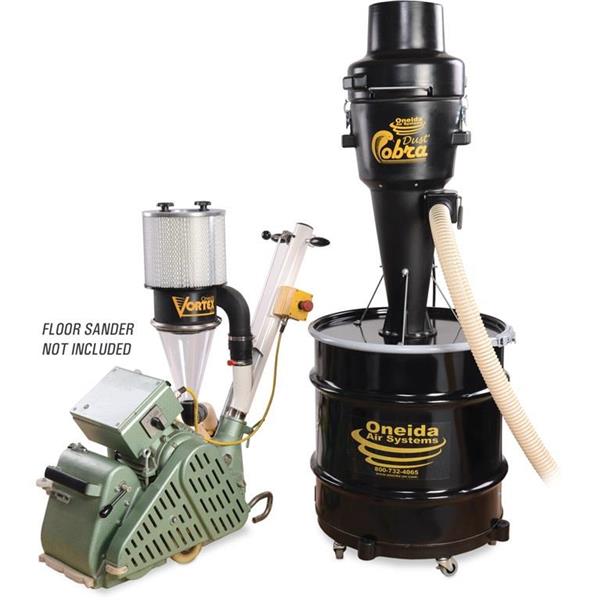
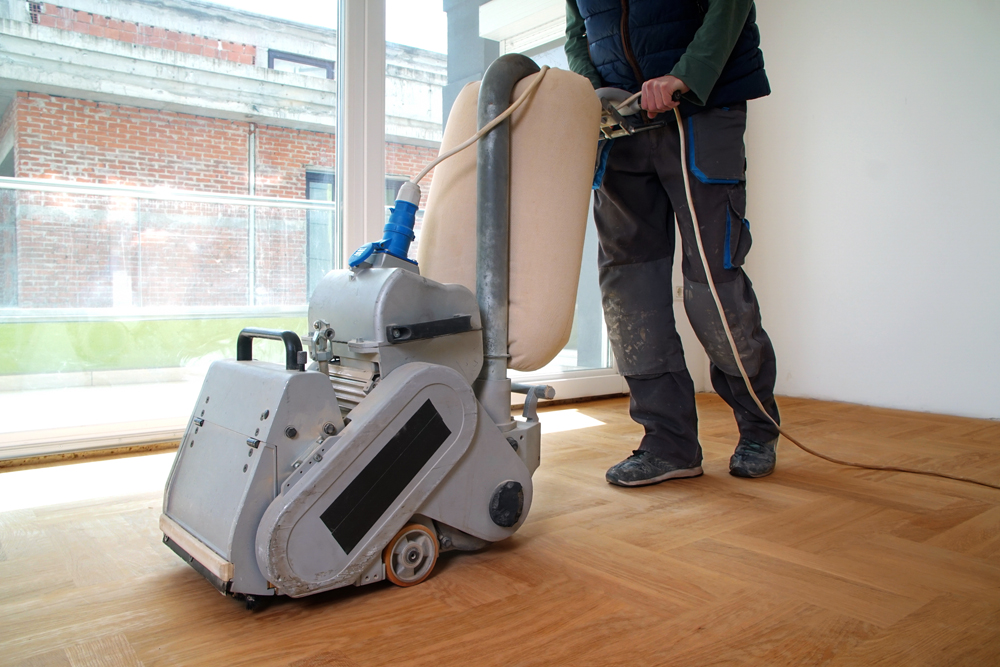
There are a variety of dust-free sanding systems to choose from, ranging from comprehensive dust control systems to sanders with self-contained dust control. Here are 4 systems we recommend:
1: Oneida Dust Deputy – The Dust Deputy is a cyclone-style separator with tremendous suction power. You connect it to your vacuum, and the Dust Deputy captures and retains almost all of the dust generated by your sander. The Dust Deputy is very efficient at collecting and filtering any dust created during sanding, while also assisting your vacuum’s suction power.
2: Lagler Trio – The Lagler Trio is a top-of-the-line sander that comes with integrated dust control, so you don’t need an external vacuum. With sensor monitoring for dust suction and disposal, the trio provides optimal efficiency and little to no clean up afterwards. A large hose picks up any debris while in use, and the machine cyclones it down into a self contained bag–keeping your work area spotless.
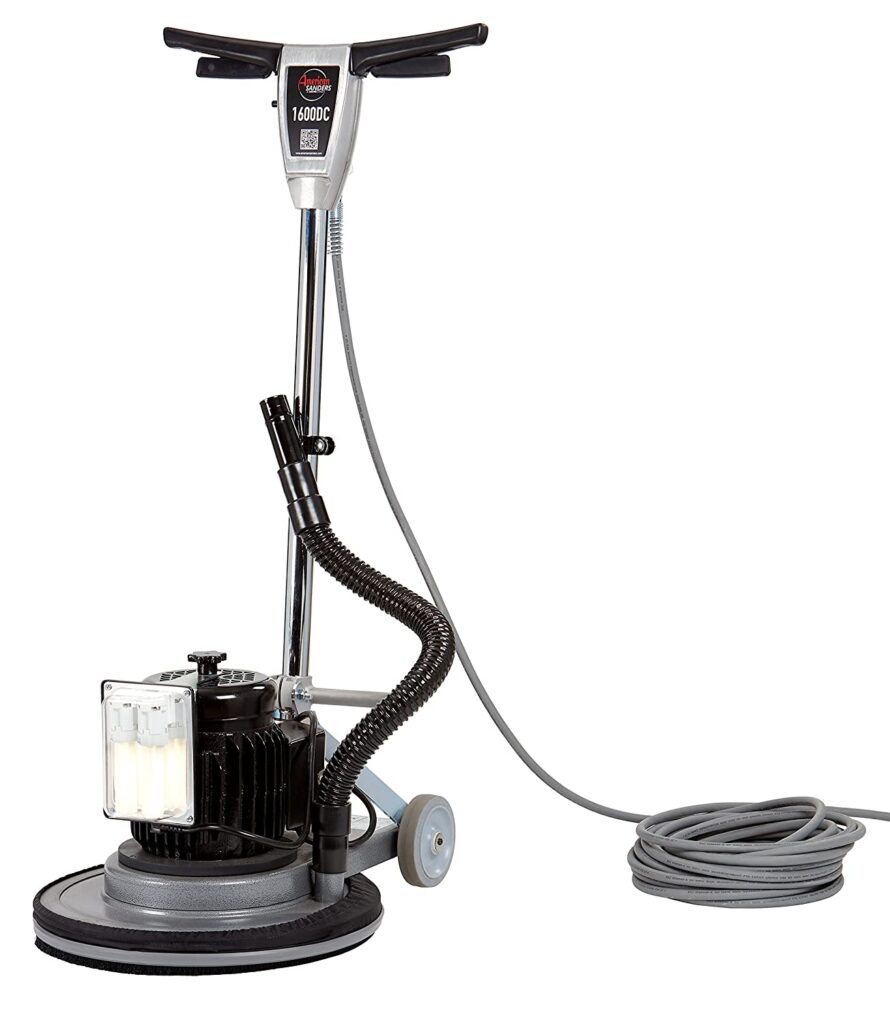
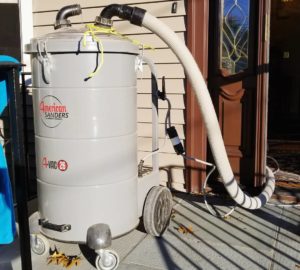
3: American Sanders RS-16 DC Buffer – By using the RS-16 DC model, you can buff without any dust. All you need to do is connect the American Sanders RS-16 DC to a vacuum, like a Festool CT vacuum. This way, no dust will enter the air and contaminate indoor air quality for both yourself and your clients.
4. Bona Atomic Van Unit – Powered by a fuel efficient, 29-HP electronic fuel injected water-cooled Kawasaki engine, the DCS system is ideal for hard-to-access residential and commercial jobs
Cost Comparison
While there are many benefits to dustless sanding, it is crucial to acknowledge that choosing dustless sanding vs traditional sanding will have a dramatic cost difference between the two methods. It is not uncommon for the price to double choosing the dustless treatment.
The Refinishing Process
Sanding and refinishing a hardwood floor is a detailed process, but can be broken down into 5 main steps.
Step 1: Clean rooms and set-up equipment
We handle all of the repairs you’ve requested before we get started with our sanders. The floor is then swept after the repairs are completed. Sanding equipment, as well as dust-free technology, are ready to go. You may select from two levels of dust control. If you choose for the “White Glove” service, we’ll begin setting up the plastic sheeting.
Step 2: Begin sanding and removing current finish
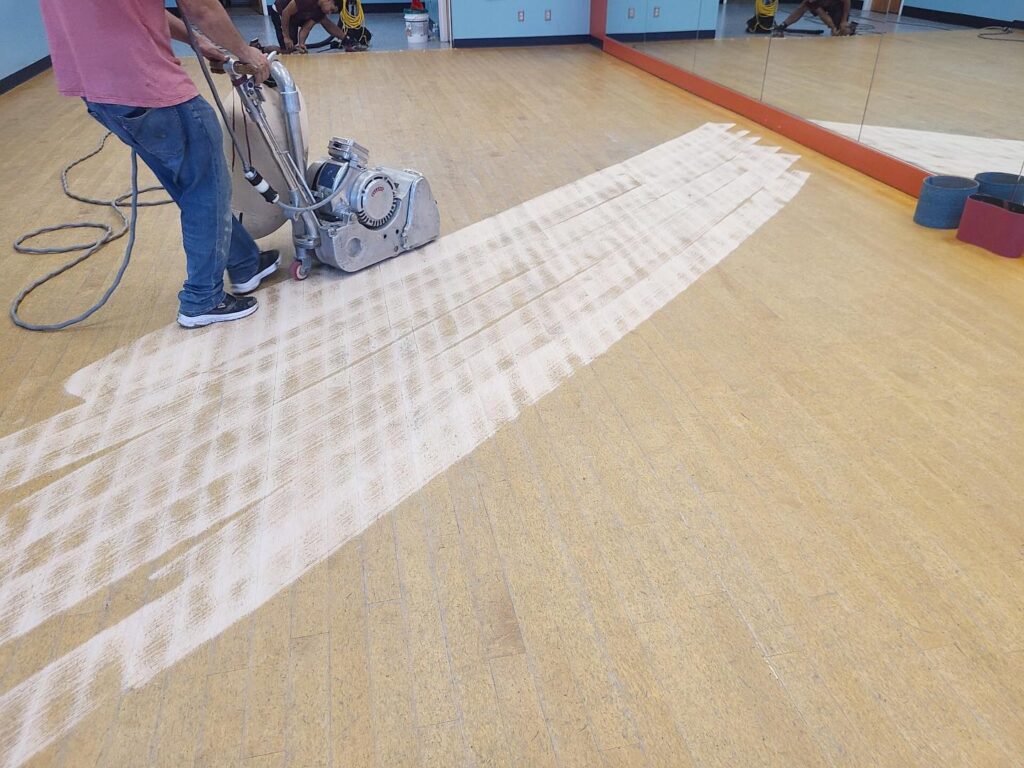
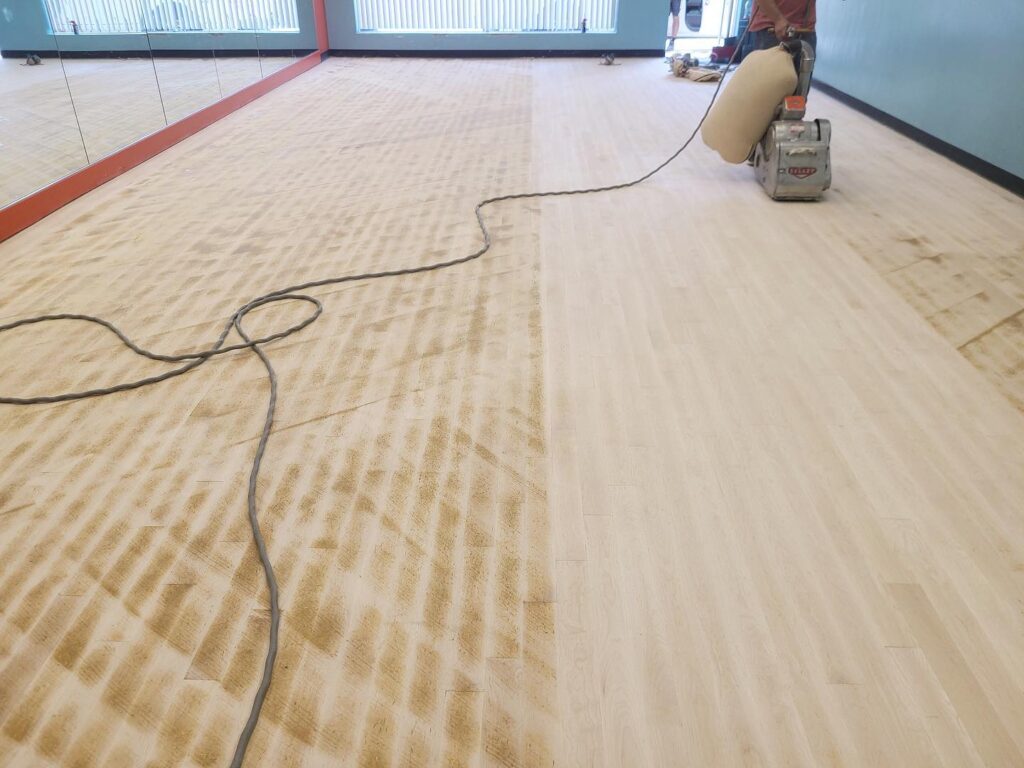
Using several sanders simultaneously, we take away the current finish and sand the floor down to bare wood. Depending on the finish you have and how level your floors surface is, this may take place over different sanding passes with distinct levels of coarseness. We aim to remove as little surface wood as possible during this stage.
Step 3: Finer grits are used to smooth your floor
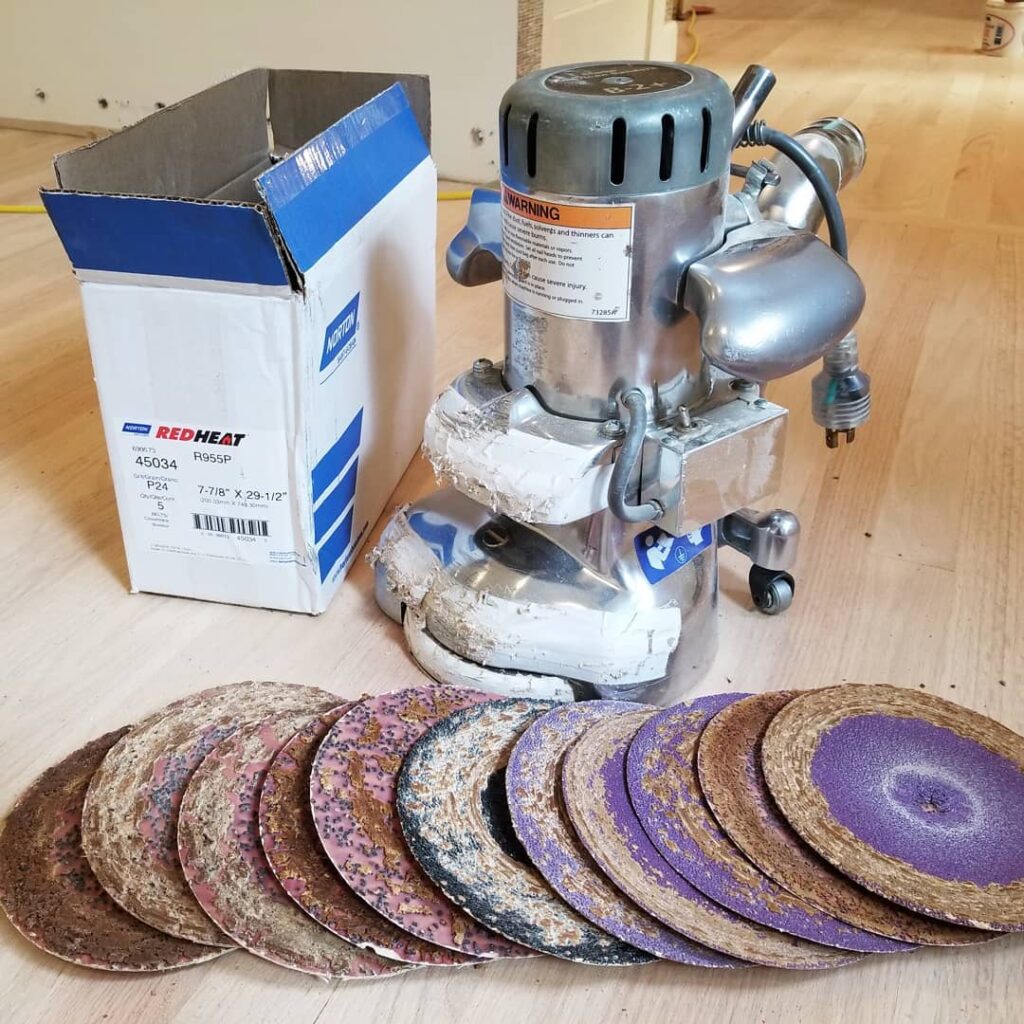
Because we sanded with coarser grits of sandpaper in the previous step, we’ll need to use a variety of higher grits to remove deeper scratches. We can utilize different sanding machines, including multi-head planetary sander.
Step 4: Hand-scraping corners and clean up
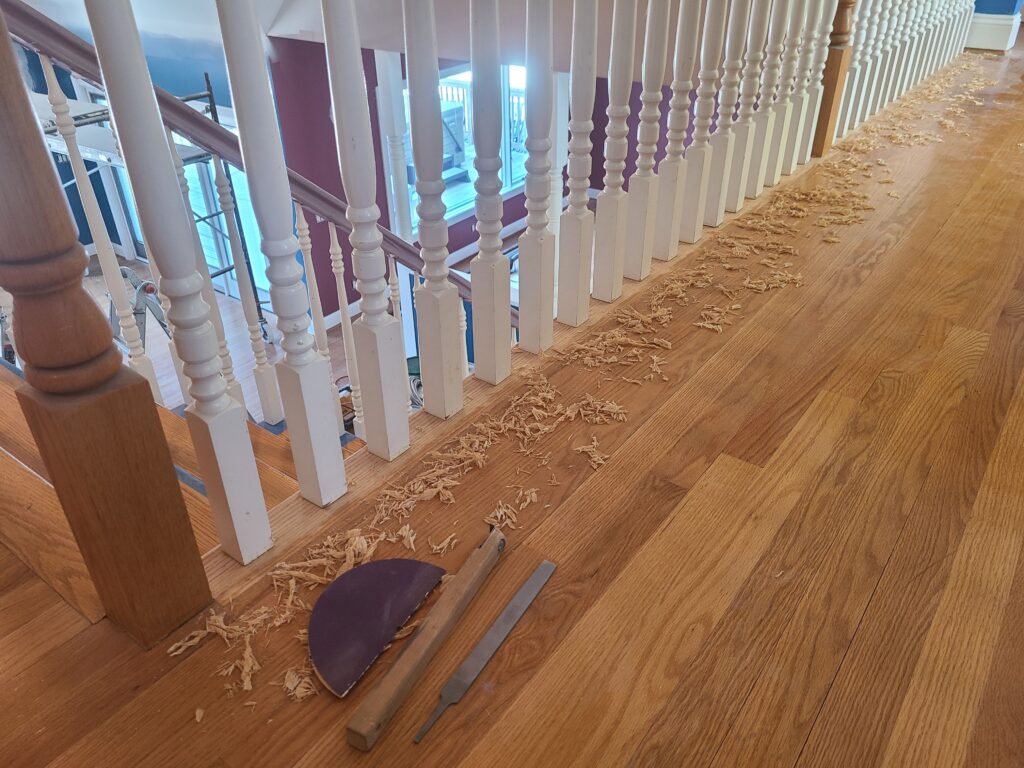
After the machine sanding, we take our time to add the final touches by hand. This is where small details make a big difference between a good and a great job. All of the perimeter and corner inspections, as well as around door trim, are performed and sanded to the same high level of quality as the rest of the floor. Then we begin lots of vacuuming!
Step 5: Staining (optional) and applying your chosen finish
Now is the time to change your floor’s color by learning about staining and that extra steps are needed for this process, which you can read about here. We then apply multiple coats of finish. Note: the curing time will depend on the type of system you choose. You can find more information here. Once the coats are dry, your floors are ready to be used!
Floor Sanding & Refinishing
Although hardwood floors appear to be low-maintenance, they require attention and love in order to look their finest. They provide warmth and depth to every room, making them a fantastic addition to any home. If you want your hardwood floors to shine every day, you must clean and care for them correctly.
Sanding is the best way to fix heavily damaged floors, like those with deep scratches, gouges, dents, or bent boards. Not only does sanding make your floor look brand new again, but it can also stop cracks and splintering from happening down the road.
Sweeping and vacuuming your hardwood floor regularly will keep it free of dust, grime, and pests.
Prefinished And Engineered Hardwood Floors Refinishing
Engineered hardwood floors can be sanded if they are in excellent condition; otherwise, they might need to be replaced. Why? Because engineered flooring (glue-down or floating) has only a thin layer of beautiful wood veneer on top of plywood, they can’t be sanded more than twice without damaging them and revealing the plywood beneath.
Prefinished hardwood floors can be sanded the same as unfinished materials but require extra steps. Due to the chemicals in the finish from a prefinished floor, they can be difficult to remove and harmful to the body.
When Is Full Sanding The Best Option?
It’s not always the case that the best choice is to full on sand. If you have a waxed floor or find other materials that keep some of your finishes from bonding, you’ll need to sand everything down and start over.
Are there a lot of deep scrapes and dents on the floor that go through the finish? In high-traffic places, is the finish worn away or flaked off completely?
If you want to achieve the cleanest fresh finish, sanding is your best option. Applying a fresh coat of finish on an existing finished floor is not recommended due to potential bonding issues and it may accentuate existing deep gouges.
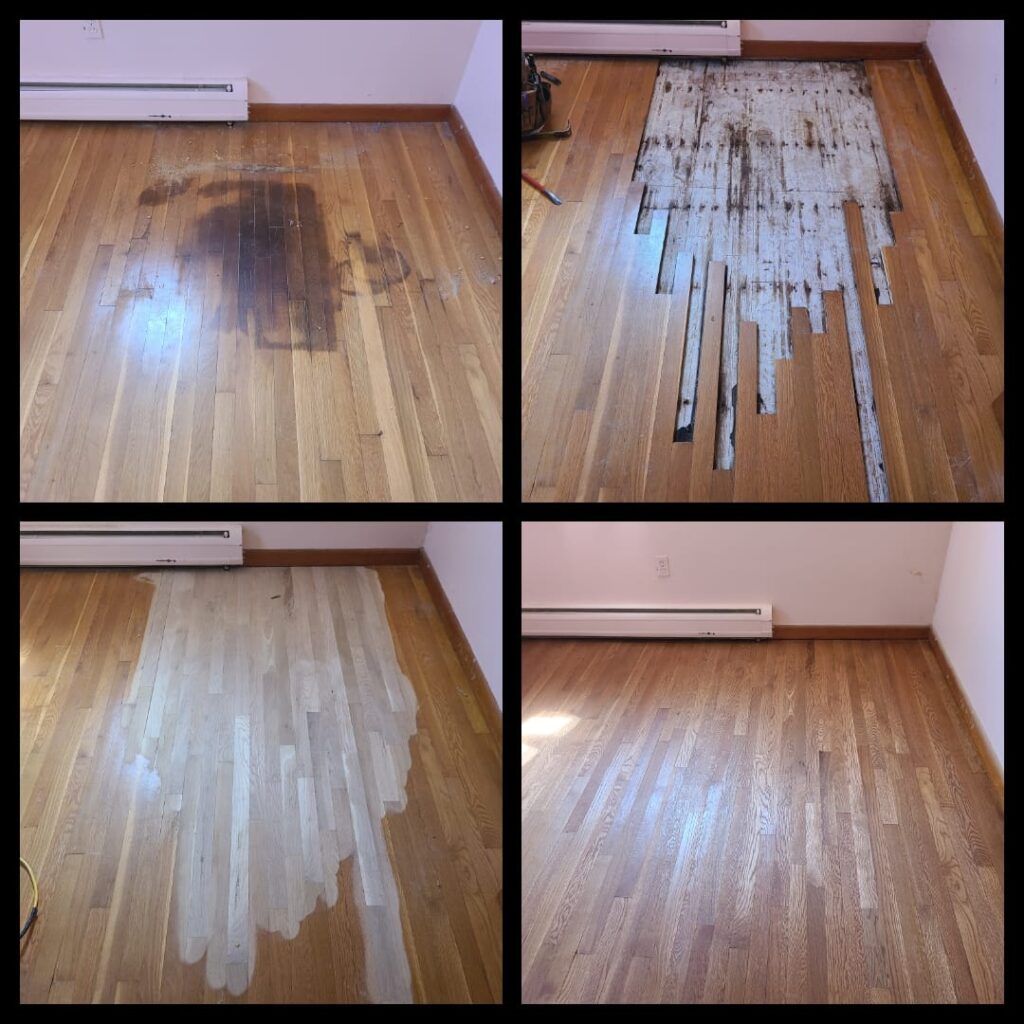
Water damage and pet stains that have soaked through the finish to reach the actual flooring will not go away (or be hidden) with a new layer of finish. The best way to remove these ugly spots is by potentially sanding them down, replace necessary boards before refinishing or by applying a dark stain color in an attempt to hide them.
Final Thoughts
As you can see, there are many benefits to dustless floor sanding and refinishing. Hardwood floors are an excellent addition to any home, and they require attention and care in order to look their best. Sanding is the best way to fix heavily damaged floors, and it can also stop cracks and splintering from happening down the road.
When it comes to dustless floor sanding and refinishing, the benefits are clear. A little bit of time and effort spent on your hardwood floors will go a long way in making them last for years to come.
